Speed drops as the hole grows
A Ø50 mm core bit runs 760–1,150 rpm; a Ø150 mm bit only 250–390 rpm. Same peripheral speed, half the rpm — because it is the line speed at the rim that matters, not the spindle.
Concrete is not one material. Standard C20–C40, heavily reinforced slabs and soft brick each want a different speed and a different tool. Getting the water flow right matters as much as the bit.
A Ø50 mm core bit runs 760–1,150 rpm; a Ø150 mm bit only 250–390 rpm. Same peripheral speed, half the rpm — because it is the line speed at the rim that matters, not the spindle.
Clear water means too much water and the diamonds polish instead of grind. Thick paste means too little and the bit overheats and binds. Milky is the target.
Rebar needs lower rpm (300–400) and more water (4–6 L/min). When you hit steel, never add pressure. Laser-welded segments survive the torque; forcing the drill snaps segments off.
Pick the row for your material. If two rows look similar, start with the slower option — it is almost always the safer and cheaper mistake.
| Material | Recommended tool | Speed | Cooling |
|---|---|---|---|
| Standard concrete (C20–C40) | Wet diamond core bit | 300–600 rpm | 2–4 L/min |
| Heavily reinforced concrete | Wet core bit, laser-welded segments | 300–400 rpm | 4–6 L/min |
| Brick, block, soft masonry | T.C.T. hollow drill bit | 600–900 rpm | Dry + dust extraction |
| Asphalt | Segmented diamond blade / core bit | 500–1,000 rpm | Water |
| Slab / wall cutting | Segmented or laser diamond blade | 30–40 m/s | Wet preferred |
| Mortar & tuckpointing | Tuck point blade | Per saw rating | Dry + shroud |
| Steel studs, pipe, conduit | Bi-metal hole saw | 150–350 rpm | Cutting fluid |
In order. Skipping a step usually costs more time than it saves.
Ground-penetrating radar locates rebar, post-tension cables and live conduit to roughly 50 mm accuracy. A 15-minute scan prevents hitting a tensioned cable — which is the kind of mistake that stops a whole site.
Chalk or a permanent marker for position, then a centre-punch dent so the bit cannot walk when you apply pressure. A wandering bit wastes diamond on an abandoned hole.
Place anchors within 150 mm of the hole centre and test stability by pressing down without spinning. If the rig rocks, re-position. Vacuum anchors hold around 1,500 kg on smooth concrete but fail on textured surfaces — use mechanical anchors there.
Begin at a lower speed with light pressure for the first 25 mm to establish a clean entry ring. Once the bit is seated, go to full force and the working rpm for that diameter.
Pause, lift the bit, clear the debris. A clogged cutting face generates heat that destroys diamonds within seconds. Check hole straightness every 150 mm with a straight edge.
As you approach the far face, ease off to avoid blowing out the exit. Then withdraw the bit while it is still rotating — this prevents the bit jamming in the hole.
Shovel or wet-vac the slurry immediately. Dried slurry becomes airborne silica dust — the one thing wet drilling was supposed to prevent.
Use these as a starting point and adjust to what the cut is telling you. Start slow and work up.
| Hole Ø | Concrete 2–3 m/s | Reinforced 1.2–1.8 m/s | Water flow (L/min) |
|---|---|---|---|
| 20 mm | 1,910–2,865 | 1,146–1,719 | ≈1 (handheld) |
| 32 mm | 1,194–1,790 | 716–1,074 | 1–2 |
| 50 mm | 764–1,146 | 458–688 | 2–3 |
| 82 mm | 466–699 | 279–419 | 2–3 |
| 107 mm | 357–535 | 214–321 | 3–4 |
| 152 mm | 251–377 | 151–226 | 3–4 |
| 200 mm | 191–286 | 115–172 | 4–6 |
| 300 mm | 127–191 | 76–115 | 6 |
The symptom is rarely the problem. Read the root-cause column before you change anything.
| Symptom | Root cause | Fix |
|---|---|---|
| Motor stalls or overloads | Too much pressure, or speed too high for reinforced concrete | Drop to 300–400 rpm, ease off the feed, keep water flowing — let the diamonds cut |
| Segments glazed, no progress | Speed too high, water too low, or the bond polished over | Re-dress the bit in an abrasive block, correct rpm and water, then resume |
| Diamonds polish instead of grinding | Too much water — slurry runs clear | Cut water back until the slurry is milky |
| Hole drifts off the mark | Rig not anchored, or wander in the first 50 mm | Re-anchor within 150 mm of centre, correct within the first 50 mm, check every 150 mm |
| Sparking inside the hole | You are into the rebar | Slow to 300–400 rpm, raise water to 4–6 L/min, keep steady — do not force |
| Core stuck in the barrel | Compacted slurry or vacuum seal | Tap the barrel to break the seal; never lever the bit out while it is spinning |
| Dust everywhere despite wet drilling | Hose pressure dropped or nozzle mis-aimed | Check water pressure weekly; aim nozzles so the bit and the cutting area are wetted |
Every item below is made by EXTRACUT and links straight to the product page.
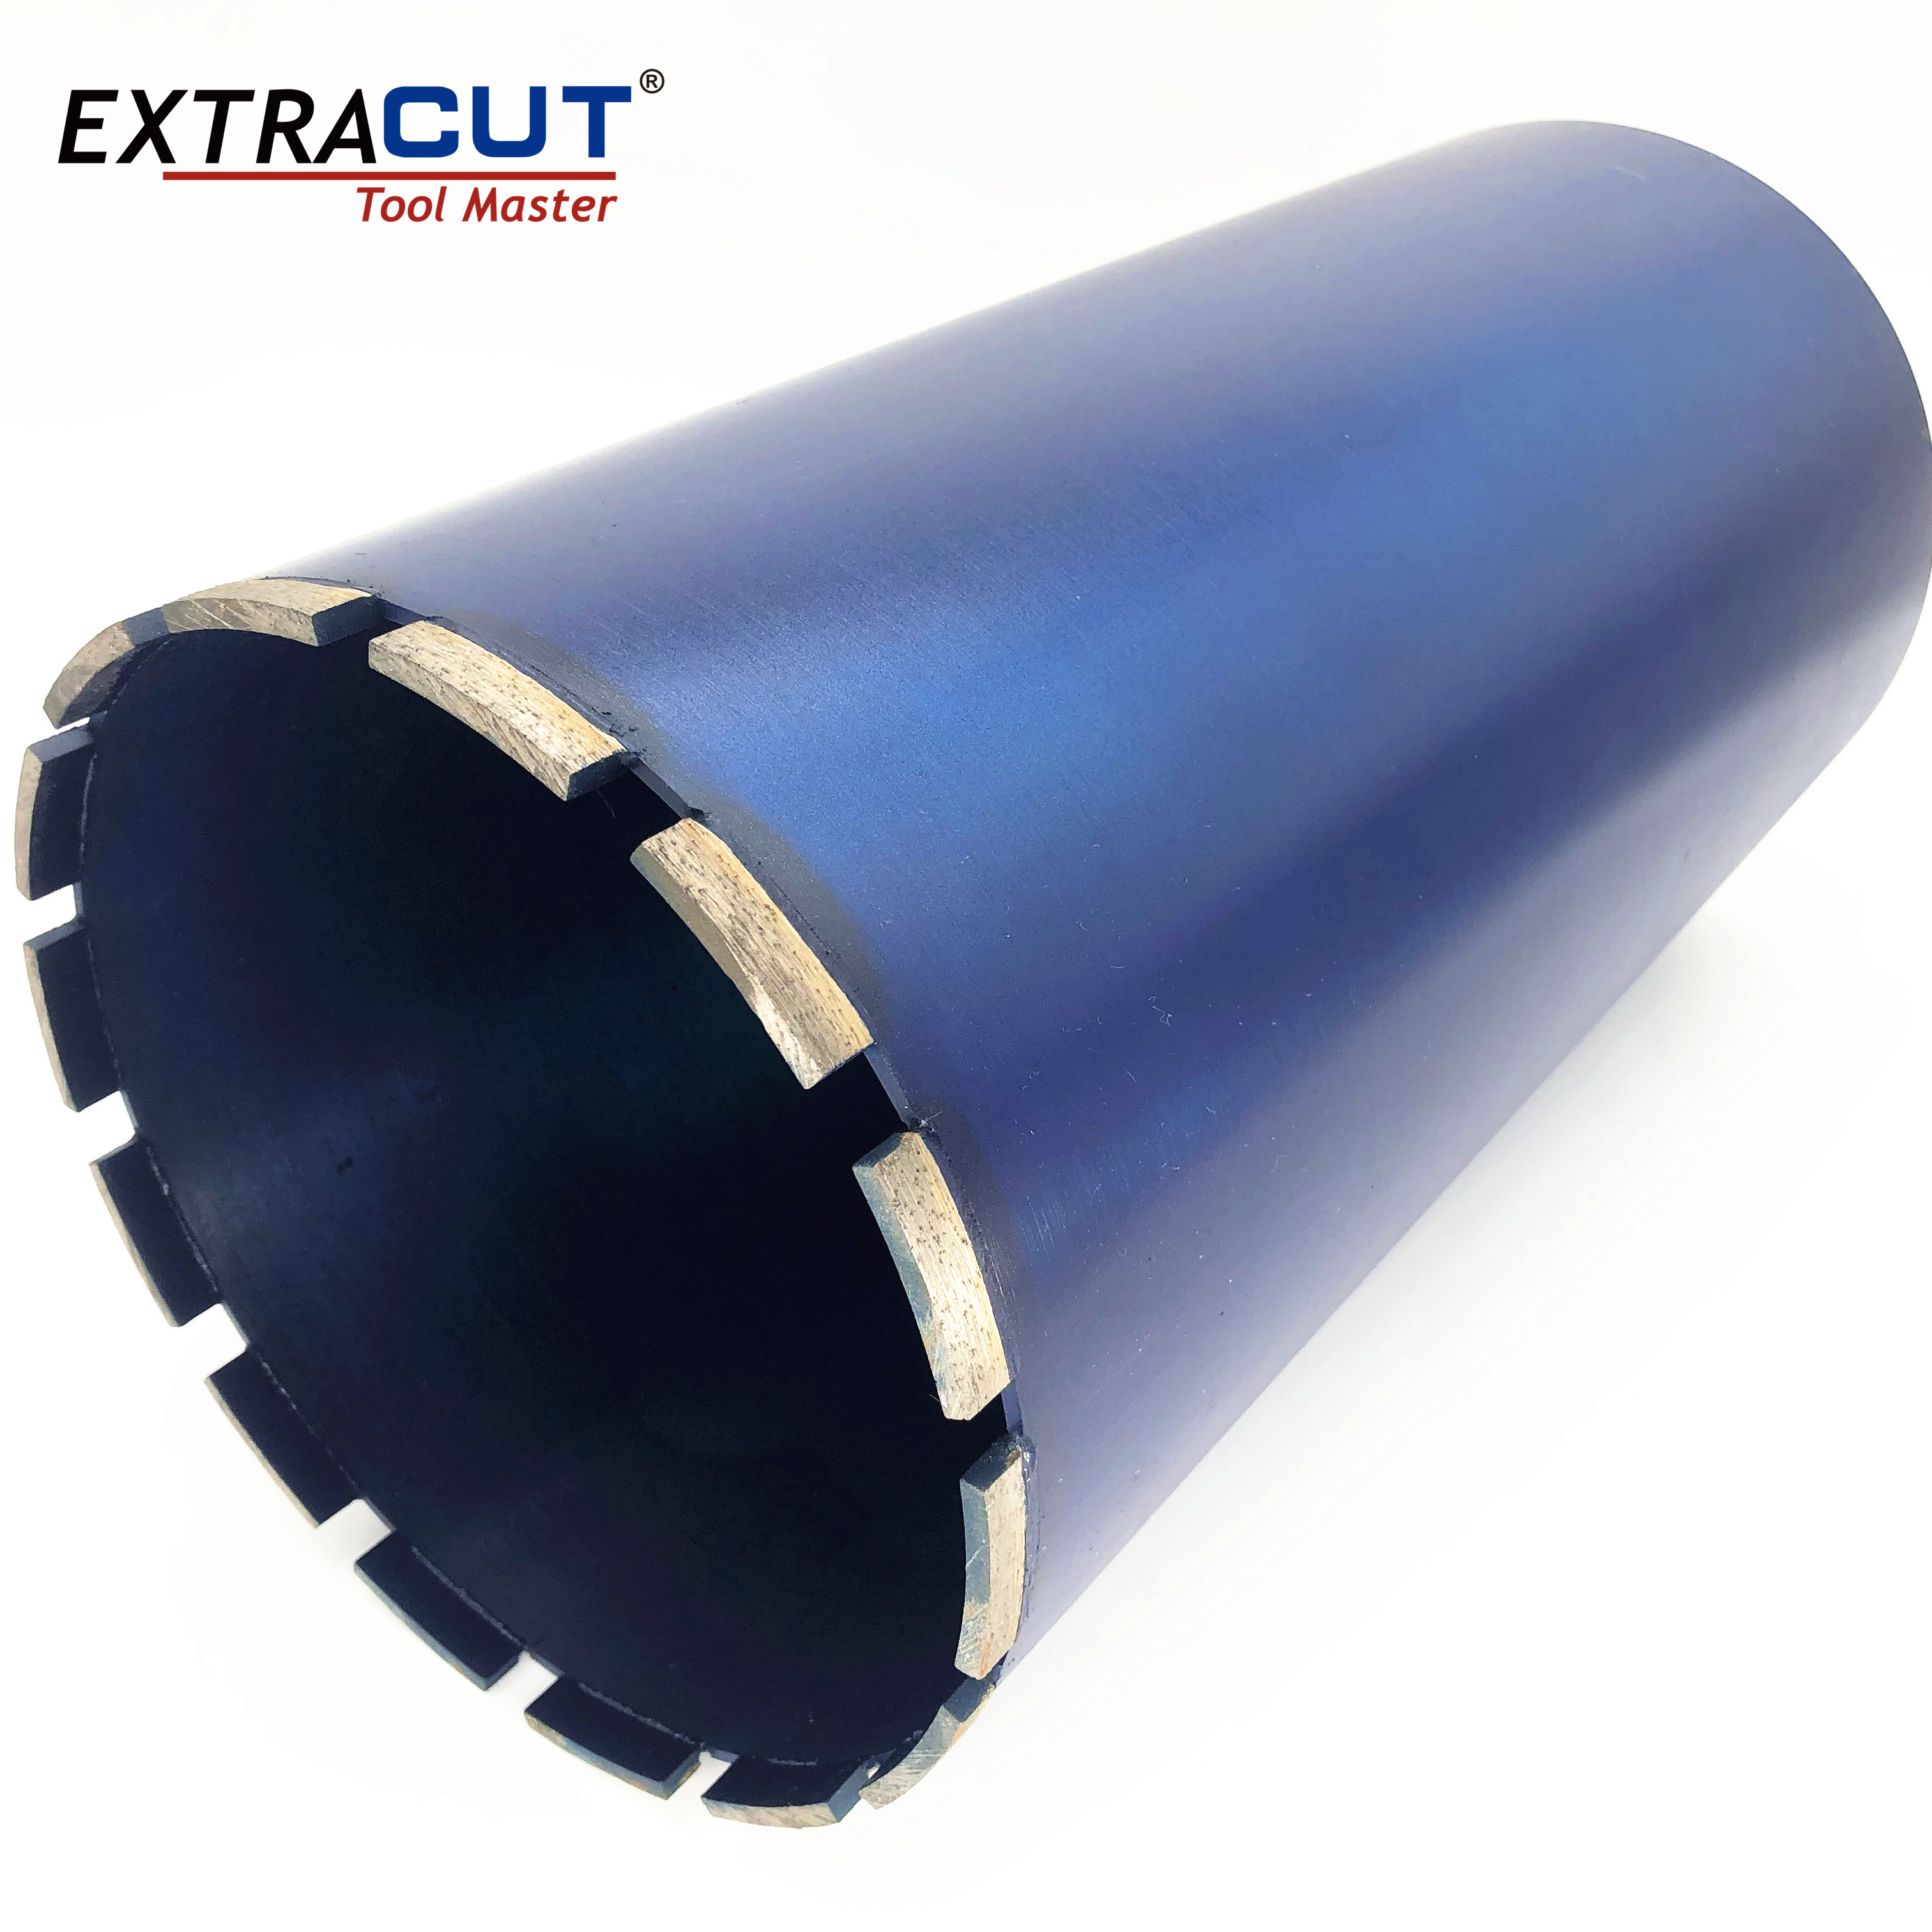
Wet diamond core bits for 20–300 mm penetrations in concrete and stone.
View product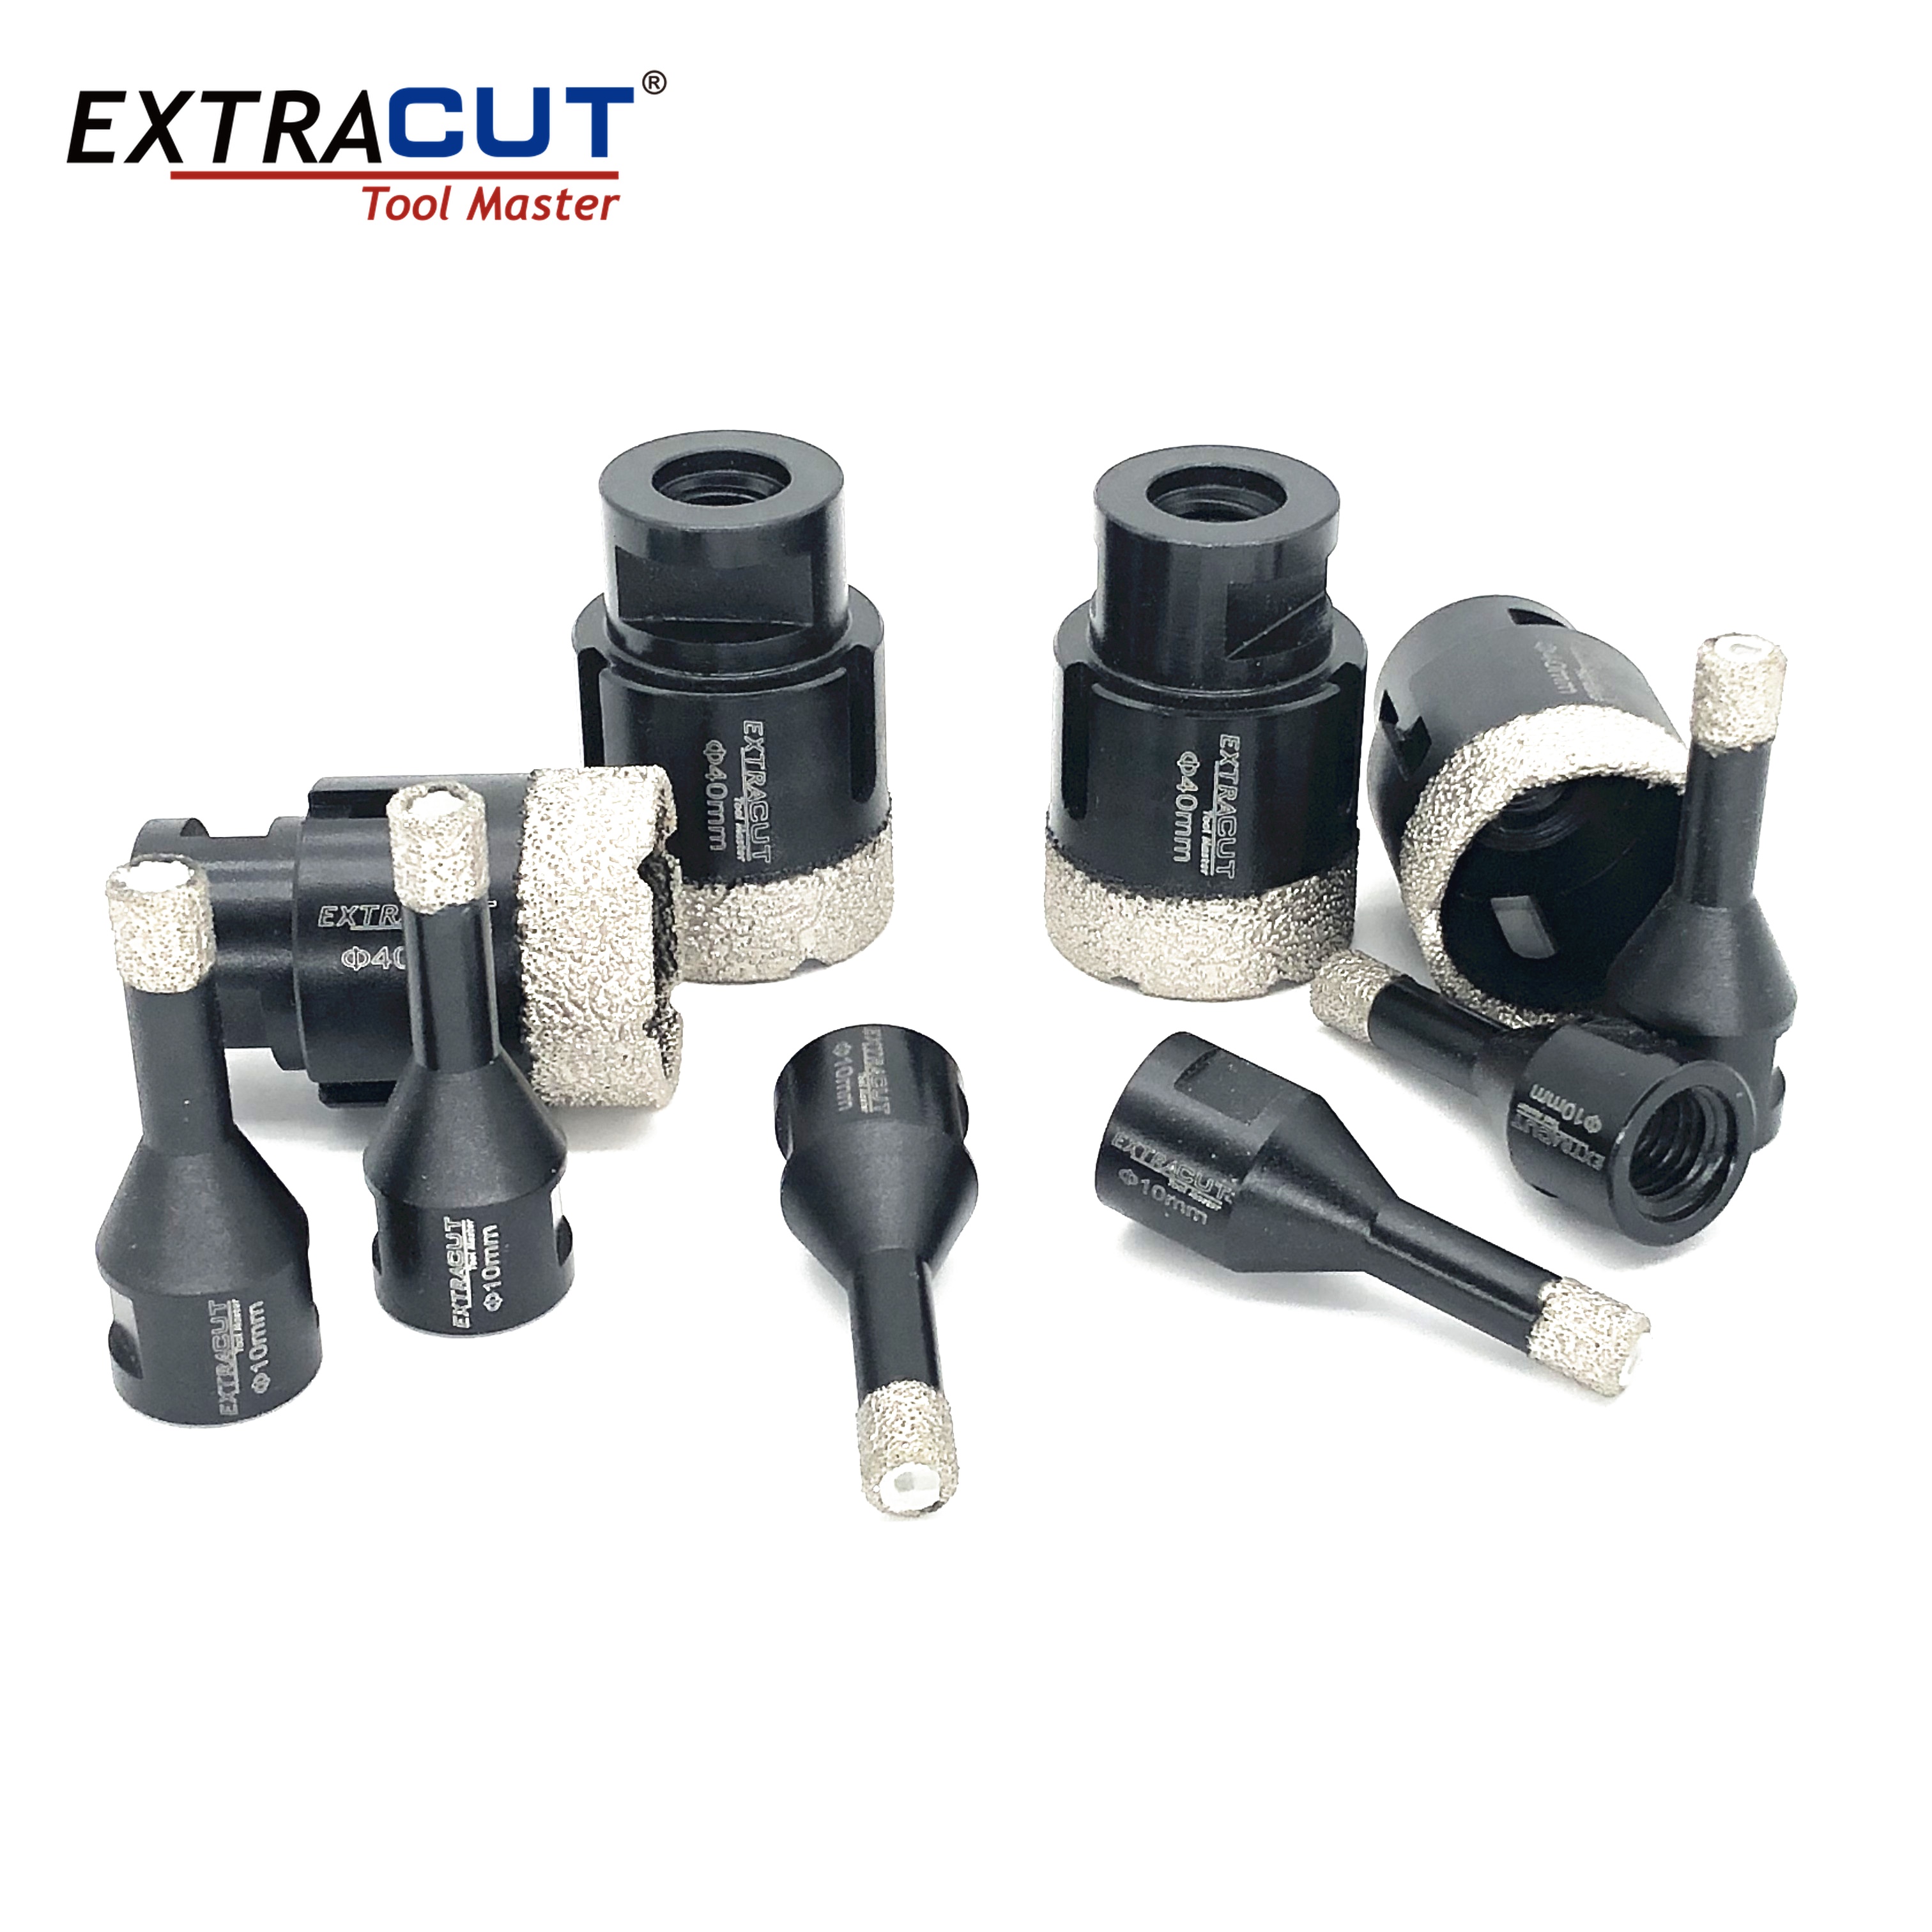
Vacuum-brazed core bits: one solid layer of diamond for the hardest reinforced pours.
View product
T.C.T. hollow drill bit for fast dry holes in brick, block and aerated concrete.
View product
Bi-metal hole saw for studs, pipe, conduit and sheet work.
View product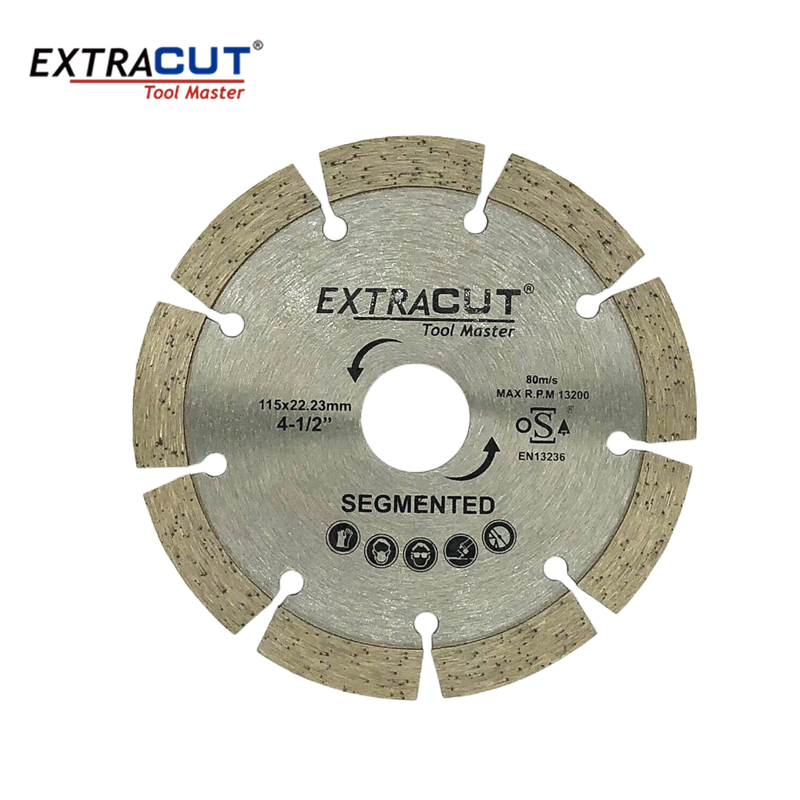
Segmented blade for cutting slabs, kerbs and openings.
View product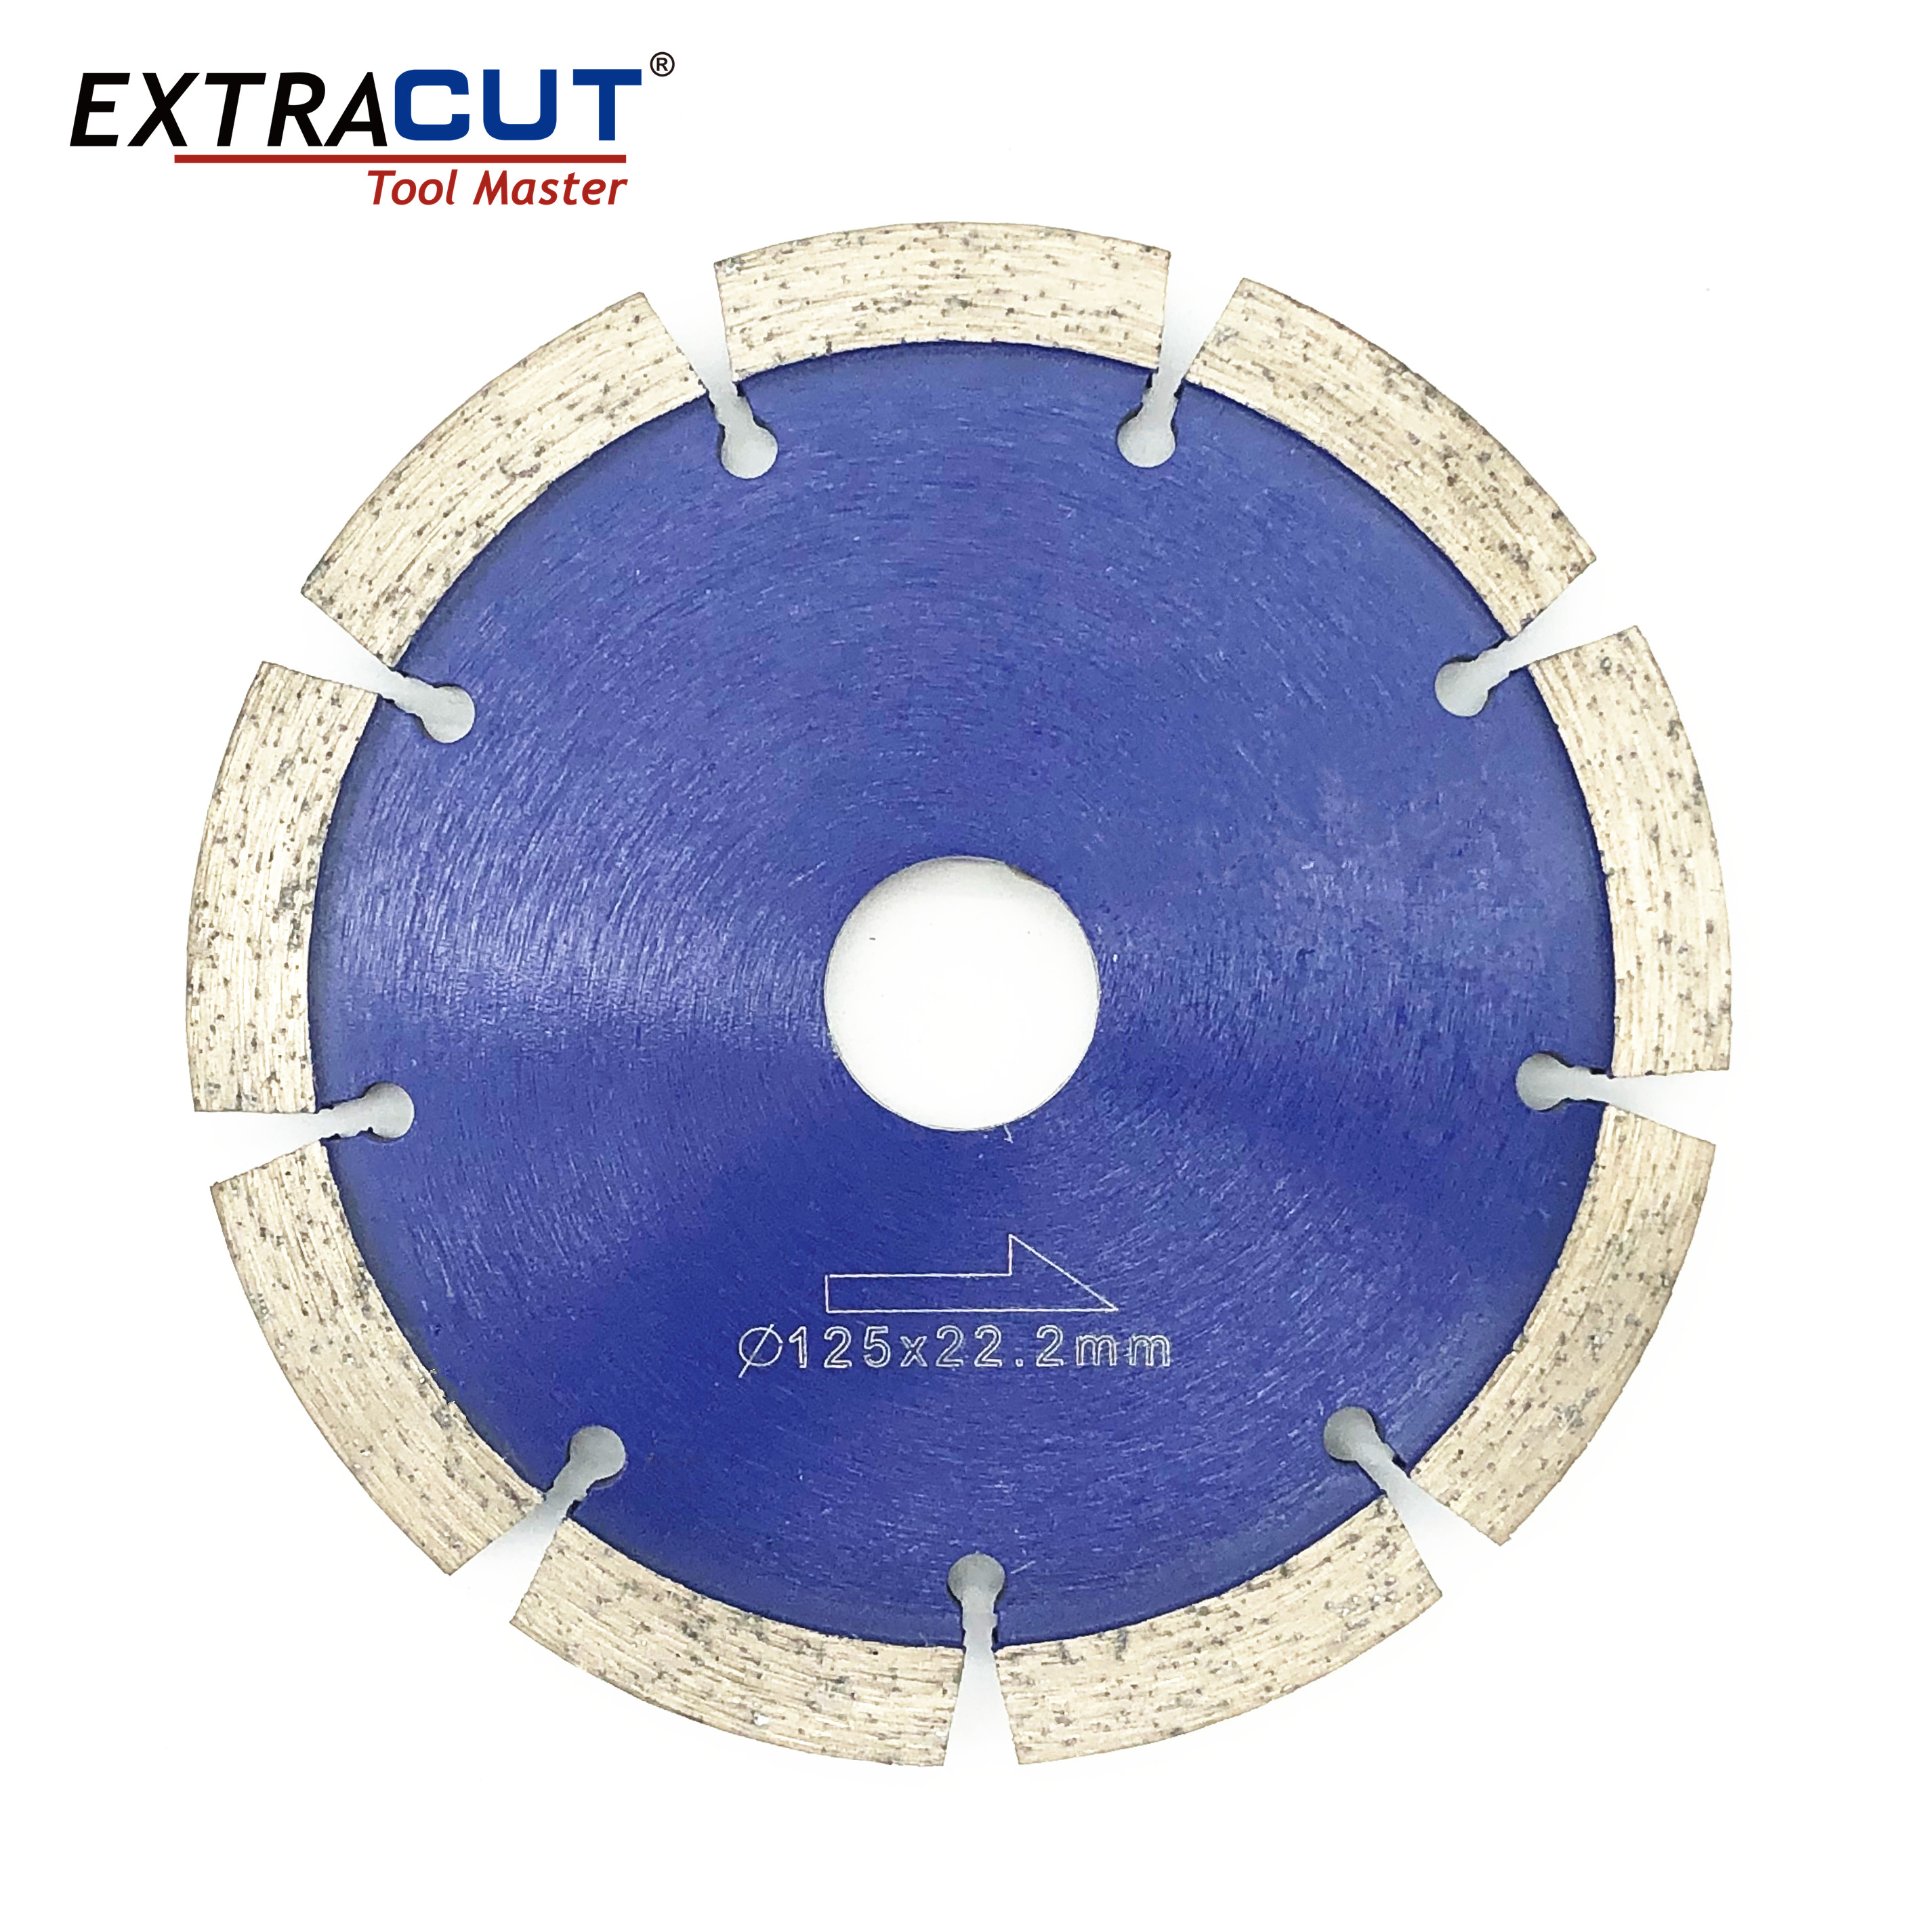
Tuck point blade for grinding out mortar joints for repointing.
View product
T.C.T. annular cutter for clean, fast holes in structural steel plate.
View product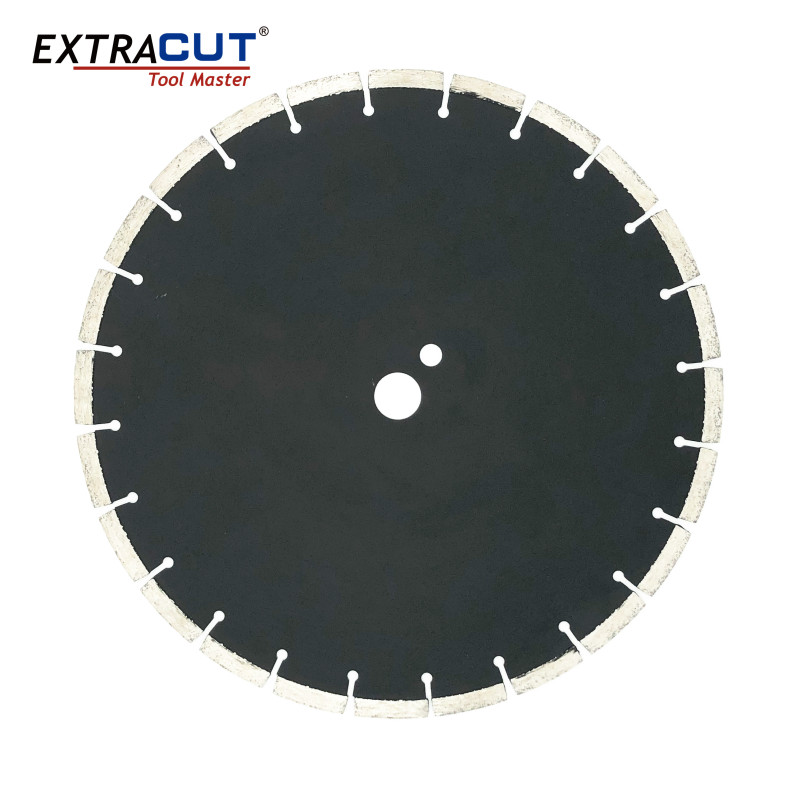
Laser diamond blade rated for dry cutting where water is not an option.
View productShort list, long consequences. These apply to every job on this page.
The questions our technical team answers most often.
Send us the material, the machine and the finish you need. Our engineers will specify the blade, bond or bit — and quote it with a sample if you want to test before you commit.