Hammer mode is how tiles die
Percussion on a glazed or porcelain tile causes catastrophic shock cracking. Rotary only — always. If the bit will not cut, the answer is a better bit and water, not hammer.
Porcelain is dense, glassy and unforgiving: it chips from vibration, cracks from shock and dulls a bit by polishing the bond over the diamond. Four habits — tape, low speed, water, and a 45° start — turn a risky job into a routine one.
Percussion on a glazed or porcelain tile causes catastrophic shock cracking. Rotary only — always. If the bit will not cut, the answer is a better bit and water, not hammer.
Hollow electroplated hole saws have no pilot point. Spin the bit up first, touch the leading edge to the tile at 45° to grind a crescent “smile” in the glaze, then pivot upright to 90°. The bit locks into its own groove.
Water is mandatory on sintered and electroplated bits; vacuum-brazed wax-filled bits tolerate dry indoor work. Either way: low speed, light pressure. Heat melts the bonding matrix and the tile cracks.
Pick the row for your material. If two rows look similar, start with the slower option — it is almost always the safer and cheaper mistake.
| Tile | Recommended bit | Speed | Cooling |
|---|---|---|---|
| Ceramic tile | Carbide-tipped or diamond | 300–500 rpm | Wet (recommended) |
| Porcelain / porcelain slab | Diamond bit or diamond hole saw | 400–1,000 rpm | Water mandatory |
| Glass tile | Diamond, fine grit | very low | Water dam |
| Natural stone tile | Diamond bit matched to stone | 300–600 rpm | Water |
| Large-format porcelain slab | Diamond hole saw + guide | 400–800 rpm | Water + template |
| Straight cuts in tile | Continuous rim diamond blade | 25–30 m/s | Wet |
In order. Skipping a step usually costs more time than it saves.
Pencil or wax marker for position, then a piece of masking tape over the spot. The tape adds grip and stops the bit skating on a polished surface, and it protects the decorative layer. Stay at least 50 mm away from any corner — edges and joints are the weakest part of the tile.
On a new installation, wait 24–48 hours after fixing. A tile that is loose or on uncured adhesive will crack no matter how good your technique is.
Start the drill at low speed and only then bring it to the tile. Touching a stationary bit to the surface is how you scratch the glaze and let the bit wander.
Hold the bit at 45° to the surface and grind a small crescent groove into the glaze. Once the bit has bitten, pivot slowly to 90° — it is now locked in its own channel and cannot wander.
Use a spray bottle, a wet sponge, or a clay/putty ring to hold a shallow pool on a floor tile. Keep the water going for the whole hole; the only job of the pause is to let heat escape.
Reduce pressure as you break through so the exit face does not blow out. On wall tiles, hold a sponge around the bit to stop water running into the wall cavity.
If the bit just spins without progress, the bond has glazed over the diamond. Drill into an abrasive stone, cinder block or brick for 5–10 seconds to strip the polished layer and expose fresh diamond grit.
Use these as a starting point and adjust to what the cut is telling you. Start slow and work up.
| Operation | Speed | Cooling | Common mistake |
|---|---|---|---|
| Diamond bit in porcelain | 400–1,000 rpm | Water, continuous | Hammer mode → cracked tile |
| Carbide bit in ceramic | 300–500 rpm | Water (beneficial) | Too much pressure on the glaze |
| Diamond bit in glass tile | 300–500 rpm | Water dam | Speed → edge chipping |
| Plunge / start on glazed tile | low, spinning first | Water | Starting a stationary bit → slip |
| Continuous rim blade, tile saw | 25–30 m/s | Wet tray | Feeding too fast → chipped edge |
| Angle-grinder tile blade | per blade rating | Wet if possible | Dry cutting porcelain → thermal cracks |
The symptom is rarely the problem. Read the root-cause column before you change anything.
| Symptom | Root cause | Fix |
|---|---|---|
| Bit spins but makes no progress | Glazing — the metal bond has polished over the diamond | Dress the bit in an abrasive stone, cinder block or brick for 5–10 seconds, then resume |
| Chipping around the hole | Too much speed or pressure, no tape, or drilling near an edge | Tape the spot, lower the rpm, light pressure, keep at least 50 mm off corners |
| Tile cracks (sometimes audibly) | Hammer mode engaged, too much pressure, or an unsupported tile | Rotary only, steady light pressure, support the tile on a flat surface |
| Bit wanders across the glaze | Smooth glazed surface, no tape, no guide | Masking tape or a wooden template with a pre-drilled hole to guide the bit |
| Hole edge blows out on the back face | Pressure kept up through breakthrough | Ease off for the last few millimetres; drill from both sides on a loose tile |
| Burning smell, bit discoloured | No coolant | Water — or for wax-filled bits, let the wax do the work and do not force the cut |
Every item below is made by EXTRACUT and links straight to the product page.
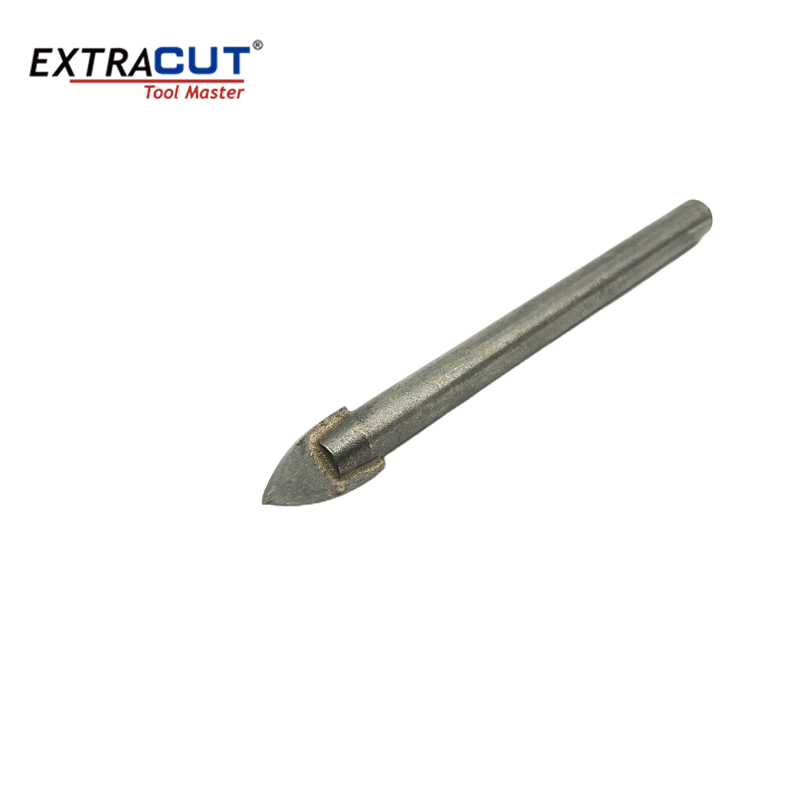
Glass and tile drill bits — precise small holes without cracking the glaze.
View product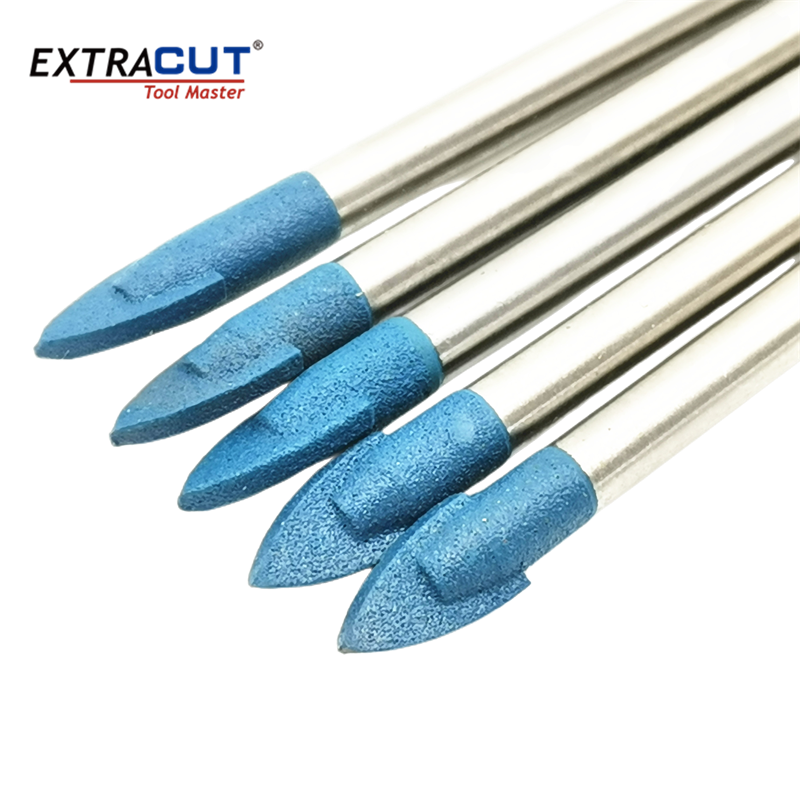
Blue-tip glass and tile bits for harder porcelain and stone tile.
View product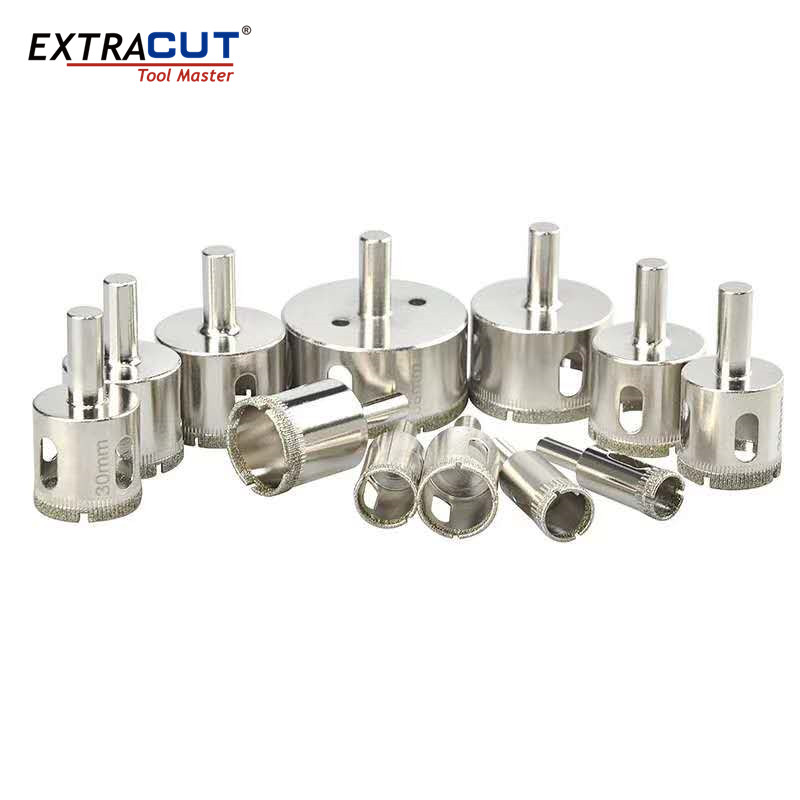
Electroplated diamond hole saw for tap, pipe and socket cut-outs.
View product
T.C.T. hole saw for faster cutting in ceramic and softer tiles.
View product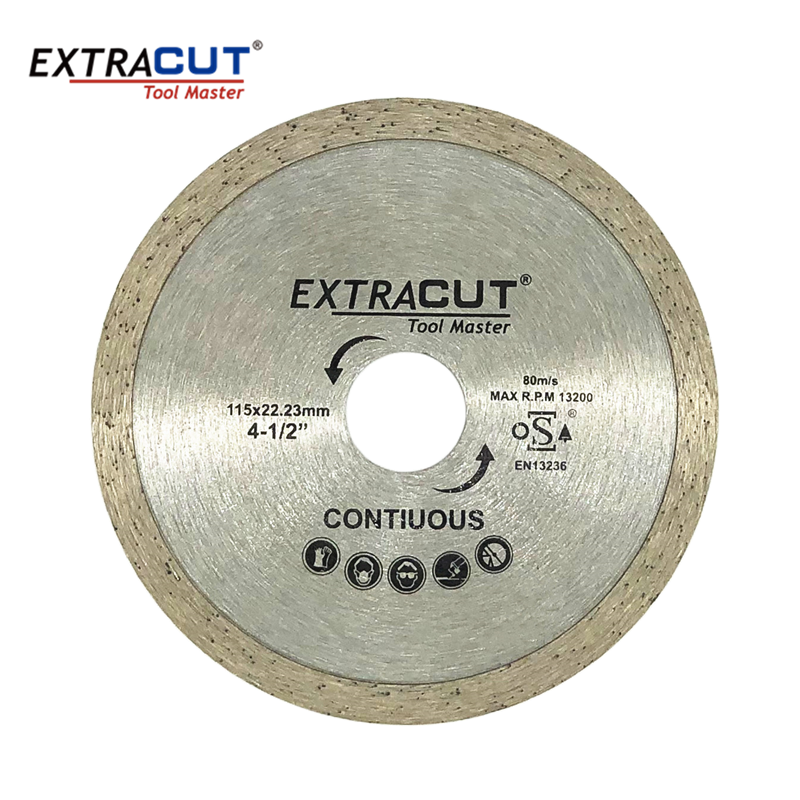
Continuous rim diamond blade for straight cuts with a clean edge.
View product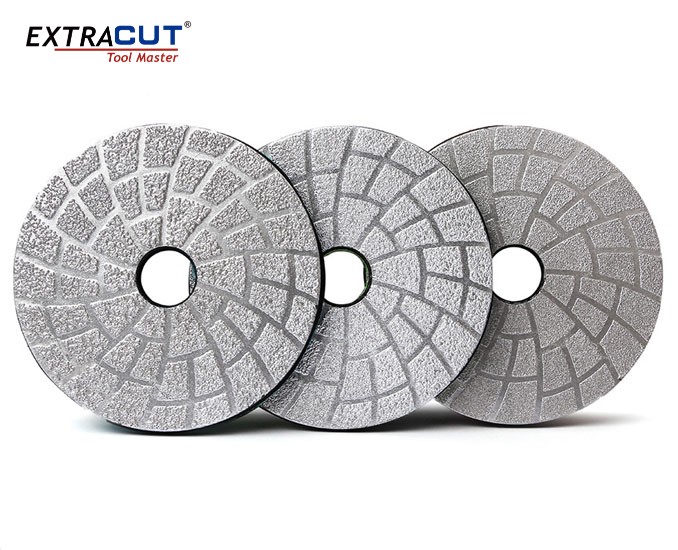
Polishing pads to finish cut edges and restore a shine.
View product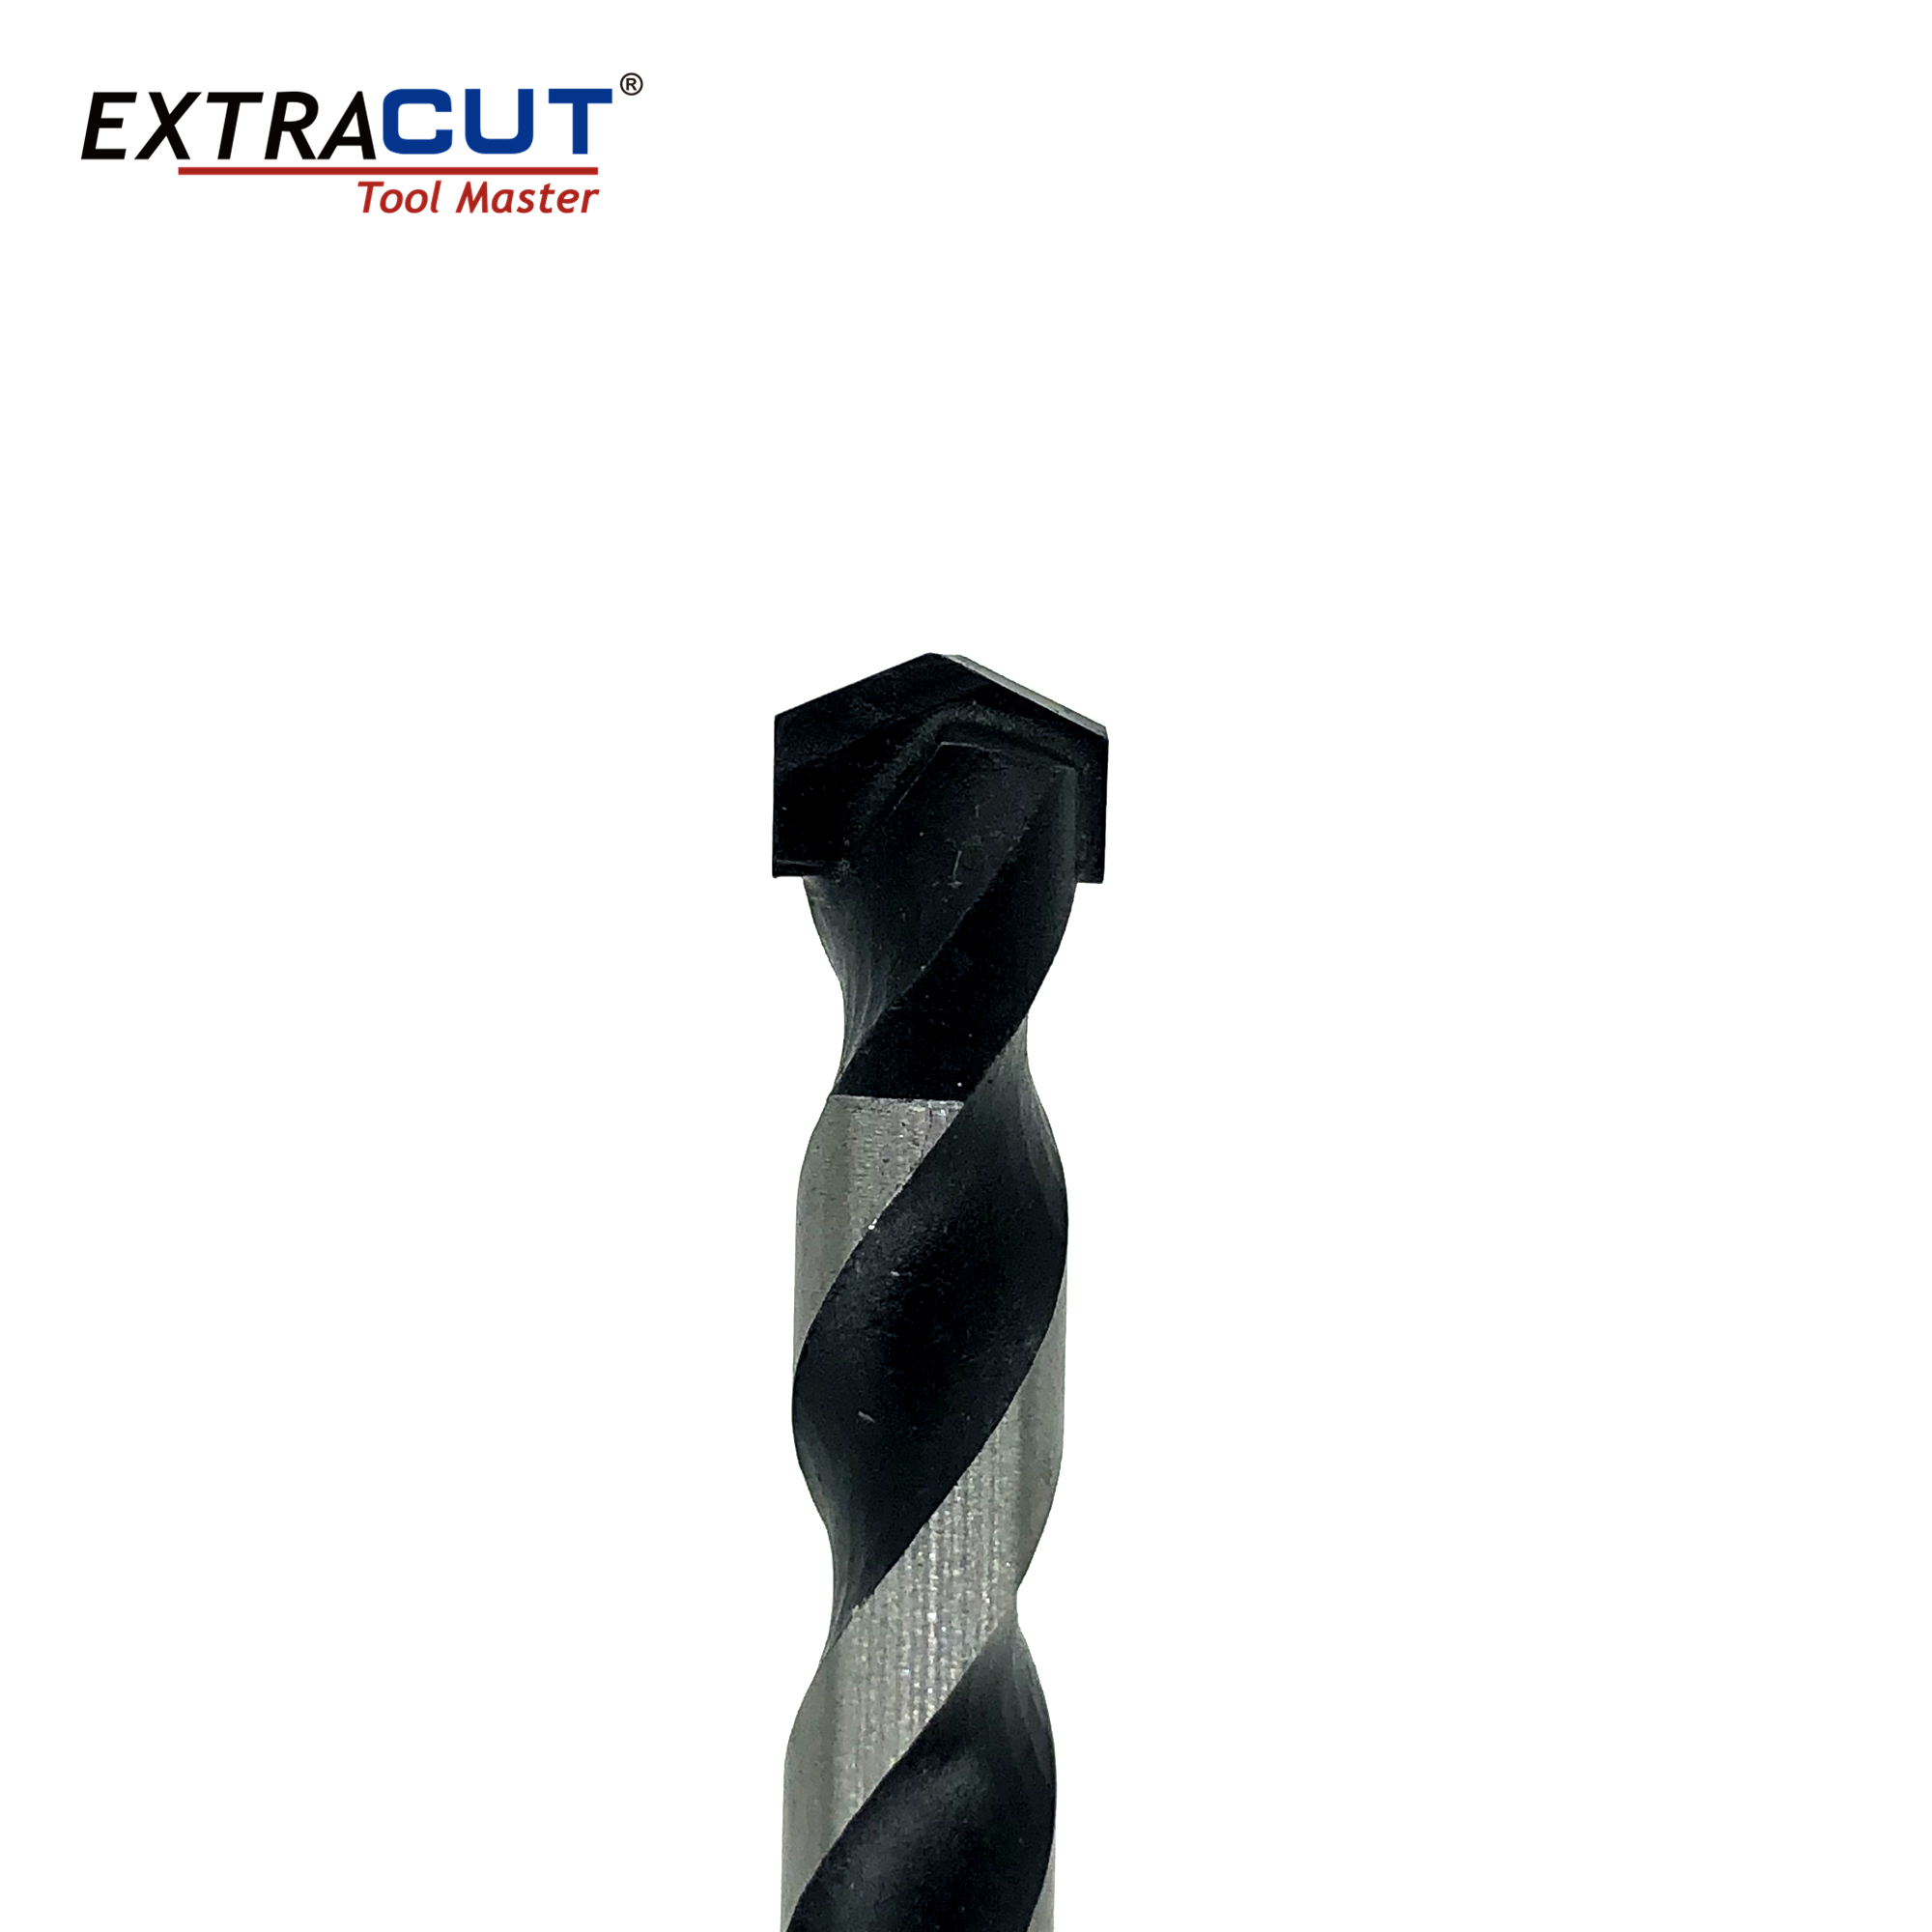
Multi-functional bits for mixed light masonry work where tile is not the only material.
View product
Bi-metal hole saw for the substrate behind the tile when you need the fixing to go deeper.
View productShort list, long consequences. These apply to every job on this page.
The questions our technical team answers most often.
Send us the material, the machine and the finish you need. Our engineers will specify the blade, bond or bit — and quote it with a sample if you want to test before you commit.